
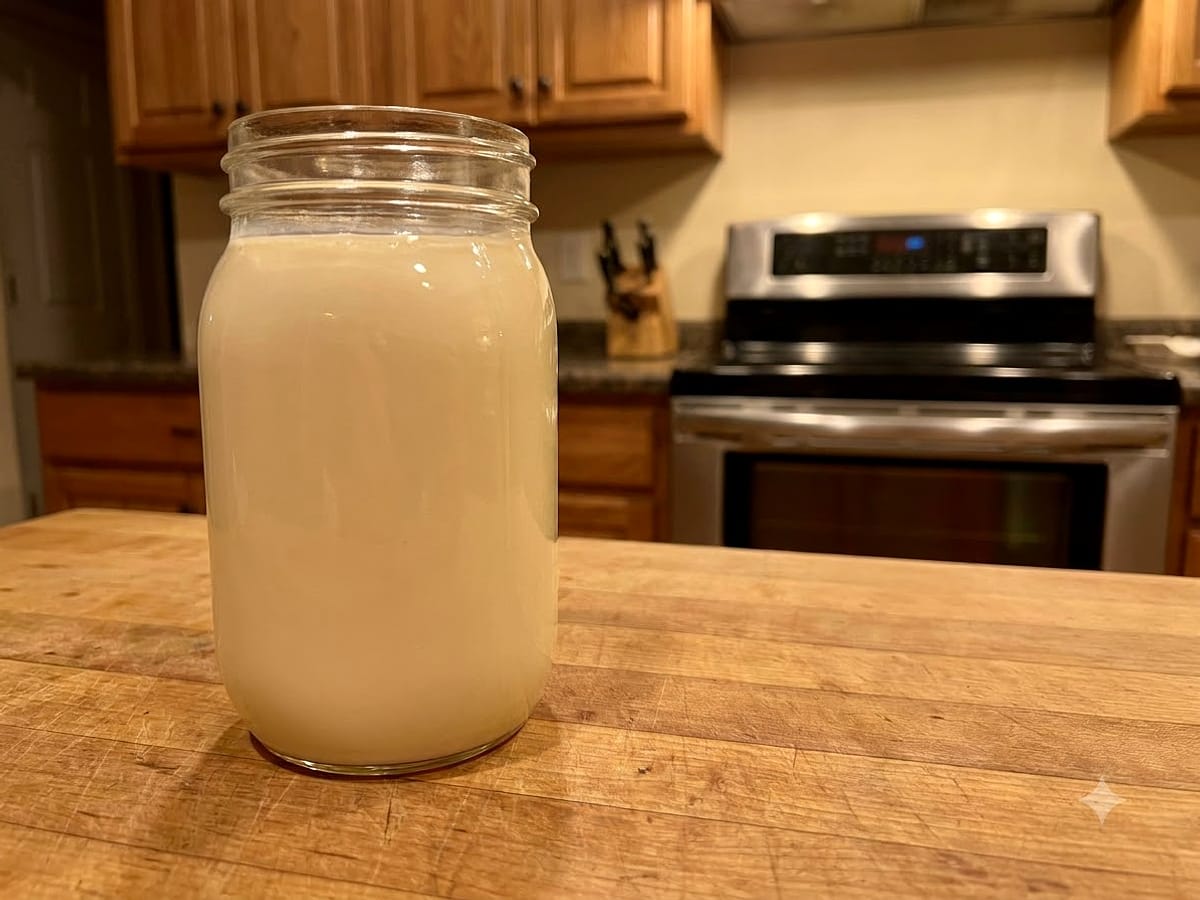
Easy Homemade Coffee Creamer
The bottle of store-bought creamer I pulled out of the fridge one morning had an ingredient list that ran three lines, and I stood there reading it while my coffee went cold. That’s when I decided to make my own homemade coffee creamer, and I’ve never gone back.
Three ingredients. That’s it.
Sweetened condensed milk, half and half, and vanilla extract, shaken together in a jar.
It takes five minutes, it keeps for up to two weeks in the fridge, and you can spin off a dozen flavors from the same base. Chocolate, cinnamon, hazelnut, peppermint.
My kids don’t even drink coffee yet, but they’ve already claimed the vanilla batch for their hot chocolate.
Prep: 5 minutes · Cook: 0 minutes · Total: 5 minutes · Serves: 28 (at 2 tbsp per serving)
How do you make homemade coffee creamer from scratch?
Combine one 14 oz can of sweetened condensed milk with 14 fl oz of half and half and 1 to 2 tbsp of pure vanilla extract in a jar with a tight lid. Shake until fully combined, about 30 seconds. Refrigerate and shake again before every pour. It keeps for 1 to 2 weeks.
Why It Works
- Sweetened condensed milk is thick and dense, so it sinks straight to the bottom if you stir it in a bowl. Shaking in a sealed jar forces it to disperse evenly through the dairy, and you get a smooth, consistent pour every time.
- The ratio of one can of condensed milk to an equal volume of dairy (14 fl oz) is the sweet spot. It’s rich without being syrupy, and sweet without needing any added sugar.
- Separation in the fridge after a few days is completely normal. It’s not spoilage. A quick shake before you pour brings it right back together.
The first time I made this, I stirred it in a measuring cup and ended up with a thick, sweet layer at the bottom of my first cup. Shaking in the jar fixed that immediately, and I haven’t tried it any other way since.
Why You’ll Love This Homemade Coffee Creamer
- Three pantry ingredients, no cooking, no special equipment
- Ready in five minutes flat
- Freezes well, so you can make a double batch and stash one
- Endlessly customizable: vanilla, chocolate, hazelnut, cinnamon, peppermint, and more from the same base
Grab These Ingredients
- 14 oz (1 can) sweetened condensed milk
- 14 fl oz half and half (or whole milk, or 7 fl oz whole milk plus 7 fl oz heavy cream)
- 1 to 2 tbsp pure vanilla extract
- 1 to 2 tbsp unsweetened cocoa powder (for mocha)
- 2 tbsp chocolate syrup (for chocolate)
- 2 tsp pure maple extract (for maple)
- 1/2 tbsp hazelnut, almond, or peppermint extract (for flavored creamer)
- 1 tsp ground cinnamon or other ground spice (start here, adjust to taste)
- 1 cinnamon stick, 4 whole cloves, or 4 allspice berries (for spiced creamer, steeped then removed)
- 1 tbsp hot chocolate powder (for a milder chocolate flavor)
- 1 to 2 tea bags, steeped and removed (for a tea-flavored creamer)
Ingredient Notes and Swaps
Sweetened condensed milk is doing two jobs at once here: it sweetens the creamer AND gives it that thick, pourable body. Don’t swap it for evaporated milk.
Evaporated milk has no added sugar and a much thinner consistency, so you’d lose both the sweetness and the richness in one move.
For the dairy, half and half gives you the richest result. Whole milk works and makes a lighter creamer.
The 50/50 split of whole milk and heavy cream lands right between the two. All three use the same 14 fl oz, so nothing else in the recipe changes based on which you pick.
For vanilla, use pure vanilla extract, not imitation. Imitation extract has a sharper, slightly artificial edge that you’ll notice in something as simple as this.
One tablespoon gives a gentle vanilla flavor. Two tablespoons makes it more forward.
I usually land at 1 and a half, though I’ll admit I don’t measure it anymore.
Let’s Make It
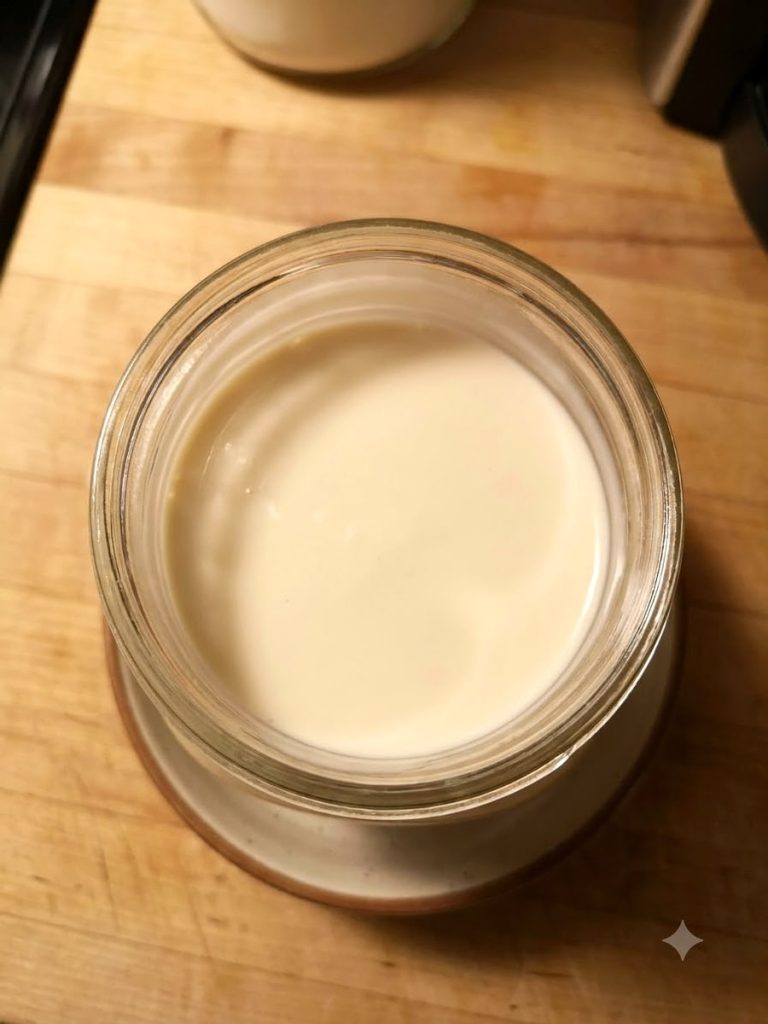
- Combine the base ingredients. Pour the sweetened condensed milk into a clean quart-size jar with a tight-fitting lid, followed by the half and half and the vanilla extract. The condensed milk will look like it’s sitting in a thick layer at the bottom.
- Add any flavor mix-ins. If you’re making a flavored batch, add your cocoa powder, extract, spice, or syrup now. For whole spices like a cinnamon stick or cloves, drop them straight into the jar. They’ll steep as everything chills, so you’ll remove them later.
- Seal and shake. Put the lid on tight and shake the jar for about 30 seconds, until the mixture looks uniform and the condensed milk is fully incorporated. It should pour smoothly off a spoon with no thick streaks at the bottom.
- Taste and adjust. Open the jar and taste a small spoonful. If you want more vanilla or spice, add it now and give it another quick shake until it looks evenly blended throughout.
- Steep whole spices, then remove them. If you added a cinnamon stick, cloves, or allspice berries, refrigerate the jar and taste it every so often, then fish them out with a spoon once the spice comes through as strongly as you want it. Whole spices keep releasing flavor the entire time they sit in liquid, so leaving them in indefinitely will make the creamer taste sharp and medicinal.
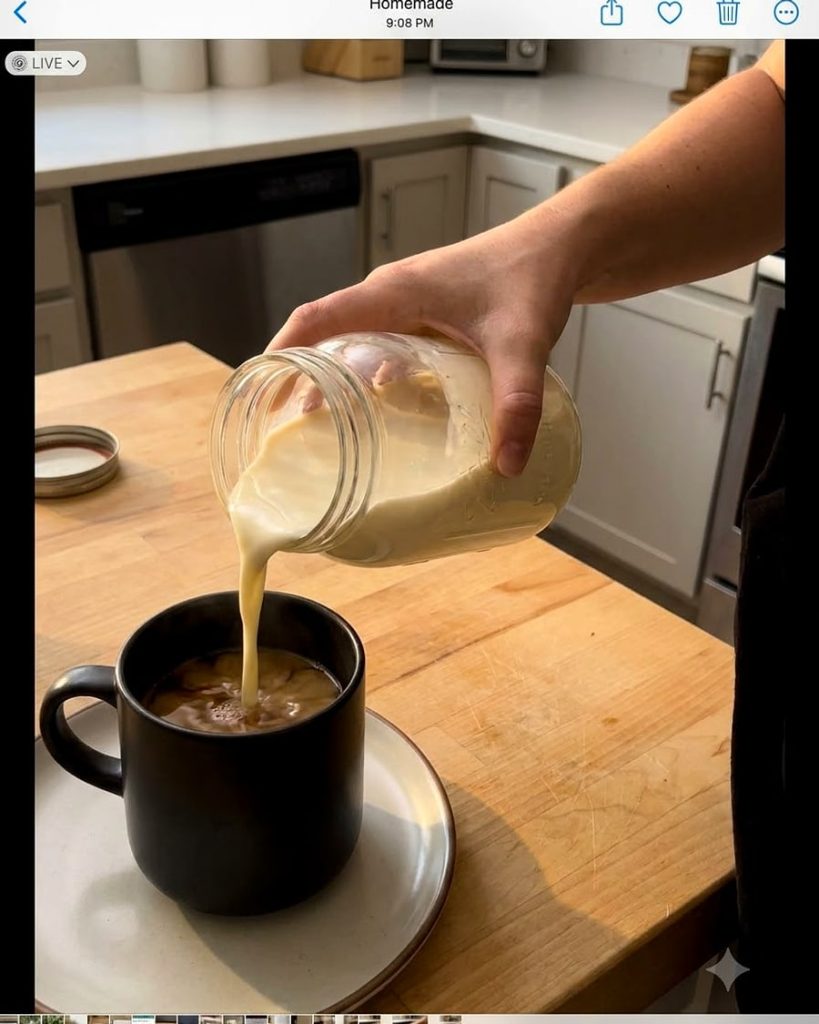
- Refrigerate and shake before every pour. Store the jar in the fridge. Before each use, give it a good shake, about 10 seconds, until the creamer looks smooth and evenly colored again. Separation between pours is normal and expected.
Good to Know
- The shelf life of your homemade coffee creamer is tied to the shortest-dated ingredient in the batch, not to the creamer itself. In practice, that means 1 to 2 weeks refrigerated, based on when your half and half or milk expires.
- This creamer freezes. One of my two sources puts the outside limit at three months; the other does not cover freezing at all, so treat that number as a guide rather than a rule. Pour it into a freezer-safe container with an inch of headroom, since the liquid expands. Thaw it overnight in the fridge and shake it hard before using, because the texture can go slightly grainy if you skip that step.
- Don’t try to double the cocoa powder thinking it’ll taste more chocolatey. Stick to the range, and add chocolate syrup instead if you want a deeper flavor.
- If your creamer tastes flat, it usually means you need more vanilla, not more sweetened condensed milk. Add vanilla in half-tablespoon increments and shake after each addition.
- For a cinnamon spice version, start at 1 tsp of ground cinnamon and taste before adding more. Ground spices bloom in the cold dairy over a few hours, so what tastes mild right after shaking will be stronger the next morning.
Storing and Reheating
Keep the creamer in a sealed jar in the refrigerator for up to 1 to 2 weeks. The exact window depends on the expiration date of your dairy, so check the carton and count from there.
This creamer freezes, and the one source that gives a limit puts it at three months. Use a jar or container with a lid and leave a little room at the top.
Thaw it in the fridge overnight, then shake it firmly before pouring. The texture can separate or go slightly grainy after freezing, but a good shake fixes it.
You can make a full batch up to a week ahead with no loss of quality. It actually tastes better after a day in the fridge, once the vanilla has had time to settle into the dairy.
On the Side
- A strong drip coffee or a shot of espresso, since the creamer is sweet and rich and pairs best with something bold enough to stand up to it.
- A plain black tea or chai, where the vanilla base softens the tannins without overpowering the tea’s own flavor.
- Hot chocolate made with whole milk, where a splash of the chocolate or cinnamon version adds an extra layer without any extra work.
- A simple bowl of oatmeal on the side, since the sweetened creamer means you don’t need to add anything else to your morning cup.
Special Equipment
- A quart-size jar with a tight-fitting lid, the most important tool here since shaking is what actually blends the condensed milk into the dairy evenly.
- A measuring cup with a spout, helpful for pouring the half and half into the jar without splashing.
- A set of measuring spoons, for getting the vanilla and any flavor add-ins right, especially on the first batch.
- A long-handled spoon or butter knife, for fishing out whole spices after steeping without digging around in the jar.
FAQ
Can I use evaporated milk instead of sweetened condensed milk? No, and it’s not a simple swap. Sweetened condensed milk is thick and sugar-loaded, while evaporated milk is thin and unsweetened. Replacing one with the other changes both the sweetness and the body of the creamer at the same time, and neither classic source supports it.
Why does my homemade coffee creamer separate in the fridge? Separation is completely normal and doesn’t mean anything went wrong. The condensed milk is denser than the dairy, so it settles toward the bottom over time. A quick shake before each pour brings it back together in seconds.
How long does homemade coffee creamer last? It keeps for 1 to 2 weeks refrigerated, depending on the expiration date of your dairy. The creamer’s shelf life is tied to the shortest-dated ingredient in the batch, so check your half and half carton and count from there.
Can I make homemade coffee creamer without vanilla? Yes. The vanilla is a flavoring, not a structural ingredient. Leave it out entirely and use the base as a neutral sweet creamer, or swap in any of the other flavor options listed in the recipe.
Can I freeze homemade coffee creamer? Yes. Three months is the outside limit I have seen quoted, from a single source, so check it before you count on a longer stretch. Leave an inch of headroom in the container since liquid expands when frozen. Thaw overnight in the fridge and shake it firmly before using, because the texture can go grainy if you skip the shake.
More From My Kitchen
- Crispy Oven Bacon
- How to Cook Fluffy White Rice
- Perfect Hard-Boiled Eggs
- Smooth Gravy from Drippings
- Buttery Classic French Toast
- Chewy Homemade Bagels
- Chewy Snickerdoodles
- Classic Apple Crisp
- Classic Apple Pie
- Classic Baked Ziti
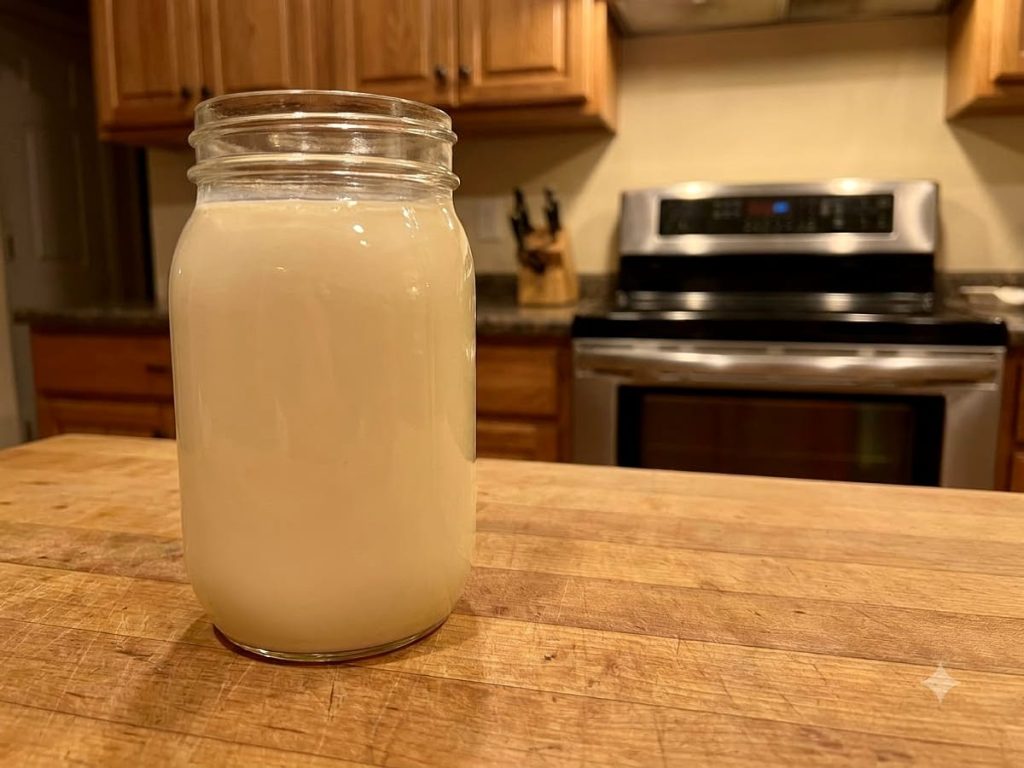
Easy Homemade Coffee Creamer
Course: BasicsCuisine: American28
servings5
minutes5
minutesIngredients
14 oz (1 can) sweetened condensed milk
14 fl oz half and half (or whole milk, or 7 fl oz whole milk plus 7 fl oz heavy cream)
1 to 2 tbsp pure vanilla extract
1 to 2 tbsp unsweetened cocoa powder (for mocha)
2 tbsp chocolate syrup (for chocolate)
2 tsp pure maple extract (for maple)
1/2 tbsp hazelnut, almond, or peppermint extract (for flavored creamer)
1 tsp ground cinnamon or other ground spice (start here, adjust to taste)
1 cinnamon stick, 4 whole cloves, or 4 allspice berries (for spiced creamer, steeped then removed)
1 tbsp hot chocolate powder (for a milder chocolate flavor)
1 to 2 tea bags, steeped and removed (for a tea-flavored creamer)
Directions
- Combine the base ingredients. Pour the sweetened condensed milk into a clean quart-size jar with a tight-fitting lid, followed by the half and half and the vanilla extract. The condensed milk will look like it’s sitting in a thick layer at the bottom.
- Add any flavor mix-ins. If you’re making a flavored batch, add your cocoa powder, extract, spice, or syrup now. For whole spices like a cinnamon stick or cloves, drop them straight into the jar. They’ll steep as everything chills, so you’ll remove them later.
- Seal and shake. Put the lid on tight and shake the jar for about 30 seconds, until the mixture looks uniform and the condensed milk is fully incorporated. It should pour smoothly off a spoon with no thick streaks at the bottom.
- Taste and adjust. Open the jar and taste a small spoonful. If you want more vanilla or spice, add it now and give it another quick shake until it looks evenly blended throughout.
- Steep whole spices, then remove them. If you added a cinnamon stick, cloves, or allspice berries, refrigerate the jar and taste it every so often, then fish them out with a spoon once the spice comes through as strongly as you want it. Whole spices keep releasing flavor the entire time they sit in liquid, so leaving them in indefinitely will make the creamer taste sharp and medicinal.
- Refrigerate and shake before every pour. Store the jar in the fridge. Before each use, give it a good shake, about 10 seconds, until the creamer looks smooth and evenly colored again. Separation between pours is normal and expected.


