
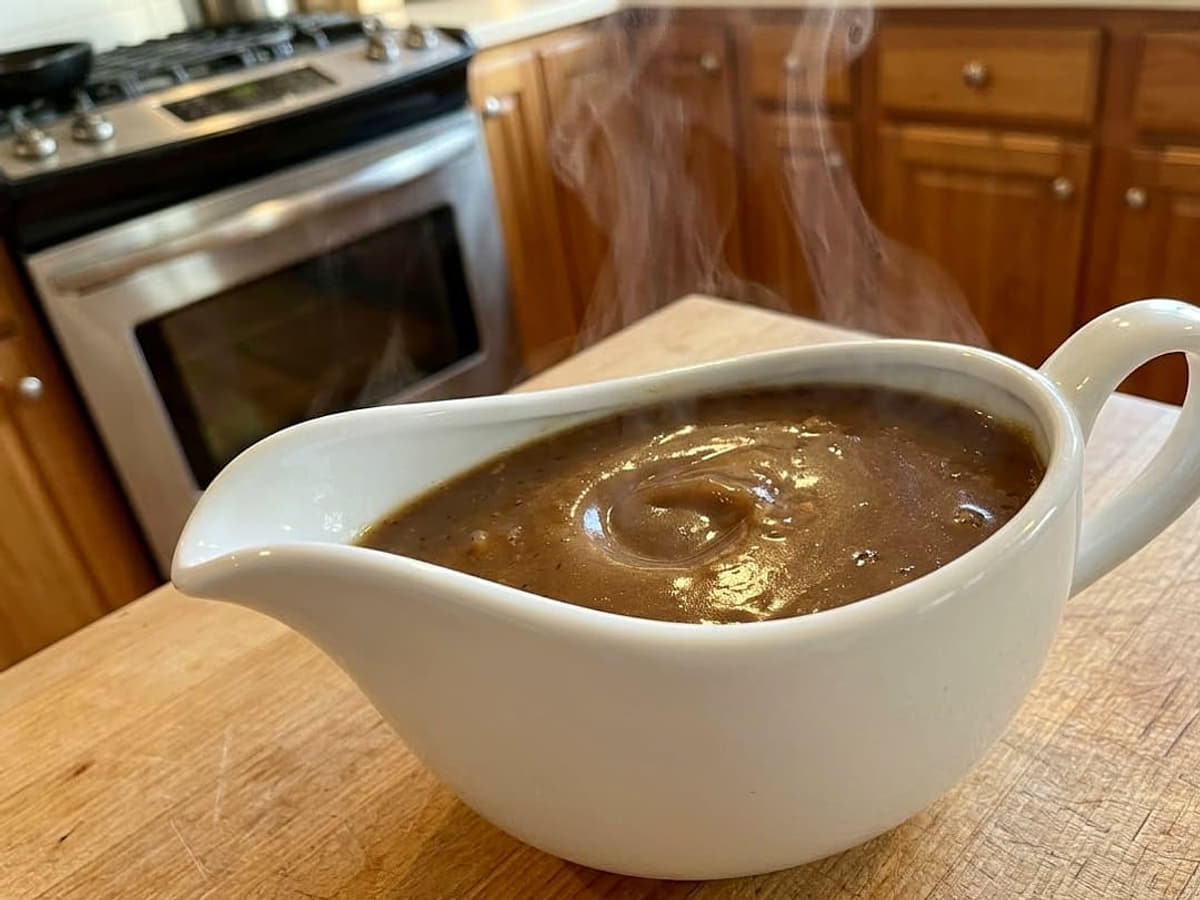
Smooth Gravy from Drippings
Every Thanksgiving I’ve watched someone panic at the stove, and it’s always over the gravy from drippings. The roast is resting, the pan is full of good stuff, and somehow the gravy still comes out lumpy or thin or weirdly pale.
My grandmother never measured. She just knew.
It took me years to figure out what she actually knew, and it comes down to one rule: cook the roux before the liquid goes in, and add the liquid slowly.
I’ve made this wrong more times than I’d like to admit. The first time I dumped cold stock into hot roux all at once, I got a pan full of lumpy paste that no amount of whisking could save.
Now I know better.
This recipe gives you two batch sizes, so you can scale to your headcount.
Prep: 5 minutes · Cook: 15 minutes · Total: about 20 minutes · Serves: 4 to 12 (small or large batch)
How do you make gravy from drippings without lumps?
Whisk the fat and flour together over medium heat for 3 to 4 minutes until the roux is smooth and smells faintly nutty, before any liquid goes in. Then add the stock slowly, whisking the whole time. Lumps that form in the roux stage never dissolve later, so getting that paste smooth first is the only step that truly matters.
The Method, in Plain English
- Cooking the roux 3 to 4 minutes over medium heat before adding liquid drives off the raw starch taste, according to Spend With Pennies. Skipping this step is why some gravies taste chalky even when they’re well seasoned.
- Equal volumes of fat and flour (by cup measure) give you a stable roux every time. The Sauce and Gravy Channel’s small batch uses 3 tbsp fat to 3 tbsp flour by volume, which works out to roughly 42 g fat to 24 g flour by weight. Stating the unit matters: those numbers are not the same ratio, and mixing them up will throw off your texture.
- Bringing the finished gravy to a full boil and holding it for 1 to 2 minutes is what actually thickens it. Judging thickness before that boil leads cooks to add more flour and end up with gravy that sets like paste on the plate.
The first time I let the roux go a full four minutes before adding anything, I was sure I’d burned it. I hadn’t.
It just smelled toasty and looked a shade darker, and the finished gravy had a depth the quick version never did.
What Makes This How To Make Gravy Special
- Uses what’s already in the roasting pan, so there’s nothing extra to buy
- Ready in about 15 minutes, start to finish
- Scales cleanly from a small weeknight batch to a holiday spread for 12
- Fixes itself: too thick, add a splash of stock; too thin, another minute on the heat
What Goes Into How To Make Gravy
- 3 tbsp fat from drippings, or unsalted butter
- 3 tbsp all-purpose flour
- 2 cups stock or pan drippings liquid
- Salt and black pepper to taste
- 1/2 cup fat from drippings, or unsalted butter
- 1/2 cup all-purpose flour
- 3 to 4 cups drippings, topped up with broth if short
- 1/2 tsp poultry seasoning
- 1 tbsp chopped fresh parsley or thyme (optional)
- Salt and black pepper to taste
A Few Notes on the Ingredients
The fat from your drippings is the flavor engine here. Pour the pan liquid into a fat separator or a tall measuring cup and let it sit for a few minutes.
The fat rises to the top. Spoon off what you need for the roux, then use the liquid underneath as your cooking liquid.
If you don’t have enough drippings, plain unsalted butter works fine in the roux.
All-purpose flour is the right thickener for this. Don’t swap in bread flour or cake flour.
If you need a gluten-free version, sweet rice flour works better than cornstarch here because it holds up to reheating without going gluey.
For the liquid, use the drippings first, then top up with chicken or turkey broth. Low-sodium broth gives you more control over the final salt level, which matters because drippings vary a lot depending on how the bird was seasoned.
Season the gravy at the very end, not before.
How to Make How To Make Gravy
- Separate the fat. Pour all the drippings from the roasting pan into a fat separator or a tall measuring cup. Let it sit 2 to 3 minutes so the fat rises clearly to the top, then measure out 3 tbsp (small batch) or 1/2 cup (large batch) of fat. Reserve the liquid underneath.
- Start the roux. Pour the measured fat into a medium saucepan or the roasting pan set over medium heat. Sprinkle in the flour all at once and whisk immediately, pressing out any lumps against the pan. Keep whisking until the mixture is completely smooth with no dry streaks, about 1 minute.
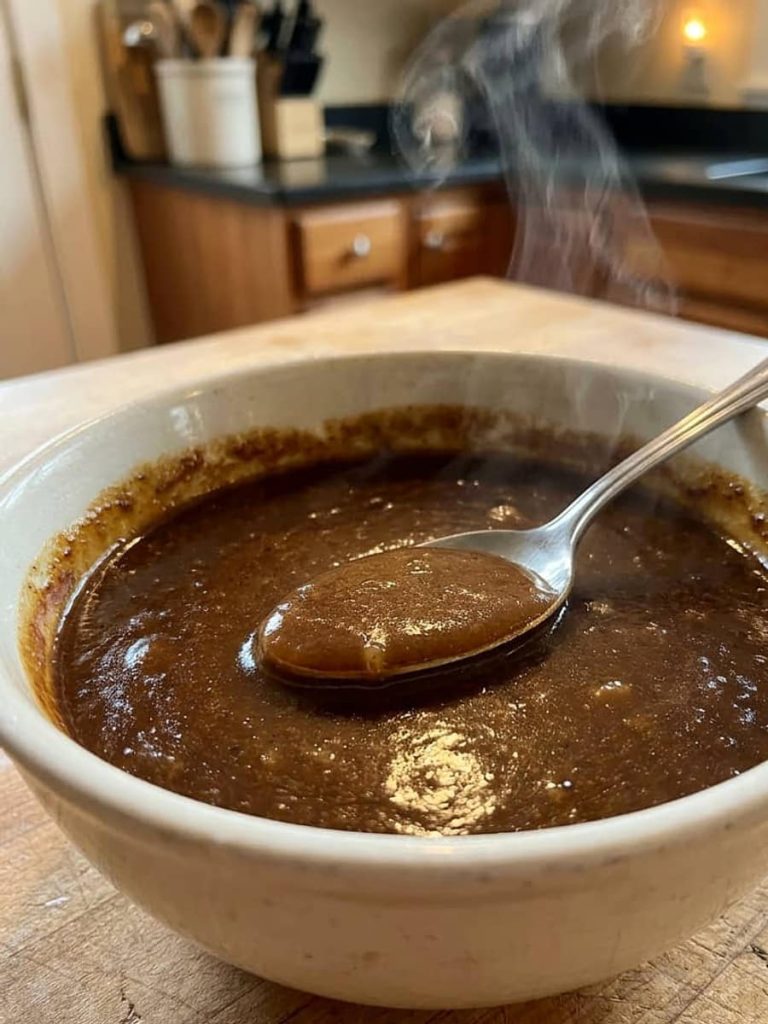
- Cook the roux. Keep the heat at medium and whisk steadily for 3 to 4 minutes, per Spend With Pennies’ tested timing. The roux will turn from pale and pasty to a light golden color and smell faintly toasty. That smell means the raw flour taste is gone.
- Add the liquid slowly. Pour in the stock or drippings liquid a splash at a time, whisking constantly after each addition. The first few pours will look thick and almost gluey. Keep going. Once you’ve added about half the liquid, the mixture will loosen and you can pour the rest in a thin, steady stream, still whisking.
- Bring to a boil. Raise the heat to medium-high and bring the gravy to a full rolling boil, then hold it there for 1 to 2 minutes, whisking. This is the step that finishes the thickening. Gravy that looks thin at this stage will tighten up as it boils.
- Adjust the texture. If the gravy is thicker than you want, whisk in extra stock a tablespoon at a time, as Omaha Steaks recommends, until it pours the way you like. It’s much easier to thin a thick gravy than to fix one that’s already been over-seasoned trying to compensate for thinness.
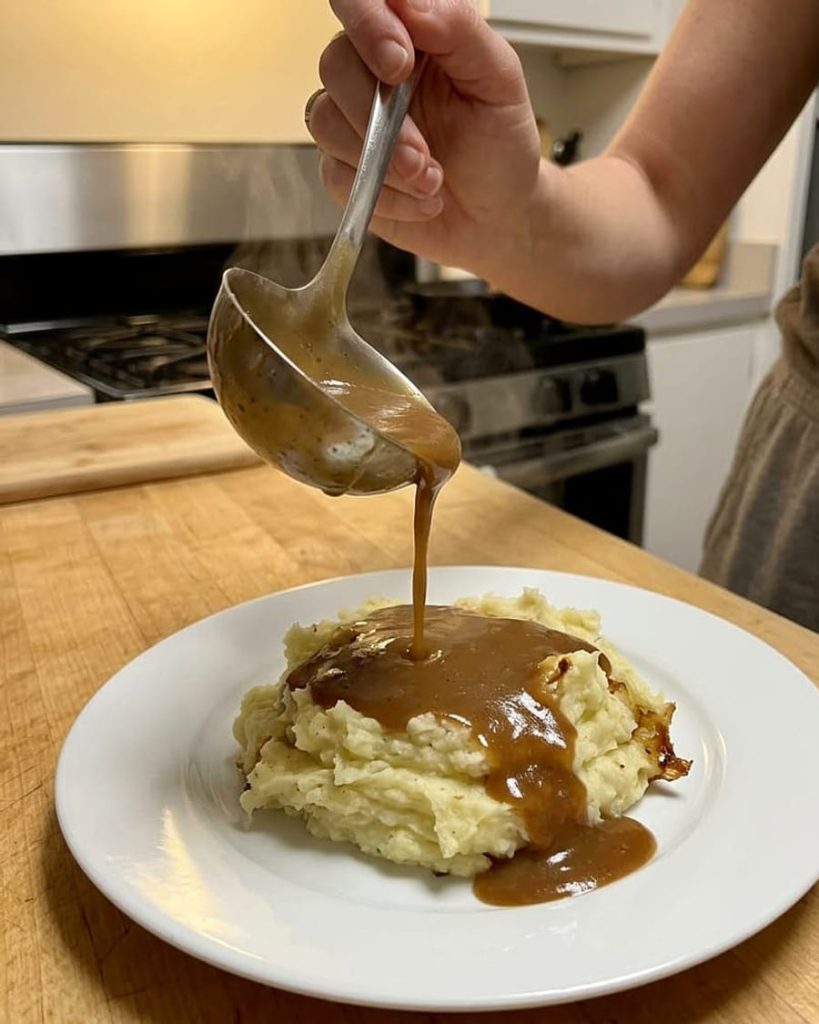
- Season and finish. Add poultry seasoning if using (large batch), then taste and add salt and black pepper. Stir in fresh herbs if you’d like them. Serve immediately, or keep warm over very low heat, whisking occasionally, until the gravy is glossy and coats the back of a spoon.
Tips From My Kitchen
- Don’t skip the full 3 to 4 minutes on the roux. I know it feels like nothing is happening, but that’s the step that gets rid of the chalky flour taste, and you can’t fix it later.
- If lumps do appear after you’ve added the liquid, pour the gravy through a fine-mesh strainer into a clean pot. It takes 30 seconds and saves the whole batch.
- Fat from drippings and plain butter are interchangeable in the roux, as Spend With Pennies lists them side by side. Drippings bring the roast flavor; butter is the backup when the pan didn’t produce much.
- Fresh herbs go in at the very end, off the heat or in the last 30 seconds. Cooking them longer dulls their color and turns the flavor flat.
- The small batch math is simple: 2 cups of liquid in, 2 cups of gravy out. Use that to scale up or down for your headcount.
Storage and Make-Ahead
Leftover gravy keeps well in a sealed container in the fridge for up to 3 days. It will thicken considerably as it cools, which is normal.
Reheat it gently in a small saucepan over low heat, whisking in a splash of broth or water to loosen it back to the right consistency. Gravy freezes fine for up to 3 months.
Let it cool completely first, then freeze in a zip-top bag laid flat. Thaw overnight in the fridge and reheat the same way, whisking as it warms.
You can make gravy a day ahead and refrigerate it. Reheat slowly and add a little extra broth as needed.
It tastes just as good the next day.
Rounding Out the Meal
- Mashed potatoes, because gravy and mashed potatoes are the whole point, and the starchy surface soaks up every drop.
- Roast chicken or turkey, since the drippings came from the bird and the flavors match perfectly.
- Biscuits, which turn a weeknight plate into something worth sitting down for, especially with a little extra gravy spooned over the top.
- Stuffing or dressing, because the savory, herb-forward flavors in both dishes pull in the same direction.
Tools You’ll Need
- A medium saucepan (2 to 3 quart), heavy-bottomed so the roux doesn’t scorch on the bottom before it’s ready.
- A fat separator, a tall plastic or glass pitcher with a bottom spout that lets you pour off the liquid and leave the fat behind. Worth owning if you roast meat more than twice a year.
- A sturdy whisk, medium-sized with a comfortable handle. A flimsy whisk won’t break up the roux fast enough and you’ll get lumps.
- A fine-mesh strainer, for rescuing the gravy if lumps do form. It’s the one piece of insurance worth having on the counter.
Common Questions
Why is my gravy lumpy? Lumps almost always come from one of two things: the roux wasn’t fully smooth before the liquid went in, or the liquid was added too fast. Pour through a fine-mesh strainer to fix it now, and next time whisk the fat and flour for a full minute before any stock touches the pan.
How do I thicken gravy that’s too thin? Let it boil for another minute or two first, since gravy thickens fully only at a boil. If it’s still thin after that, mix 1 tbsp of flour with 2 tbsp of cold water into a smooth paste and whisk it in, then bring it back to a boil.
Can I make gravy without drippings? Yes. Use 3 tbsp of unsalted butter for the small batch or 1/2 cup for the large batch, and swap in good-quality chicken or turkey broth for the liquid. The flavor won’t be quite as deep, but it’s a solid gravy.
How do I fix gravy that’s too salty? Add more unsalted broth to dilute it, then bring it back to a boil to re-thicken. That’s why the brief says to season at the very end, after all the liquid is in and the texture is set.
Can I make gravy ahead of time? You can make it up to a day in advance and refrigerate it. Reheat over low heat with a splash of broth, whisking until it’s smooth and glossy again.
If You Liked This One
- Classic Balsamic Vinaigrette
- How to Cook Fluffy White Rice
- Perfect Hard-Boiled Eggs
- Chewy Snickerdoodles
- Classic Apple Crisp
- Classic Apple Pie
- Classic Baked Ziti
- Classic Beef Chili
- Classic Beef Stew
- Classic Blueberry Muffins
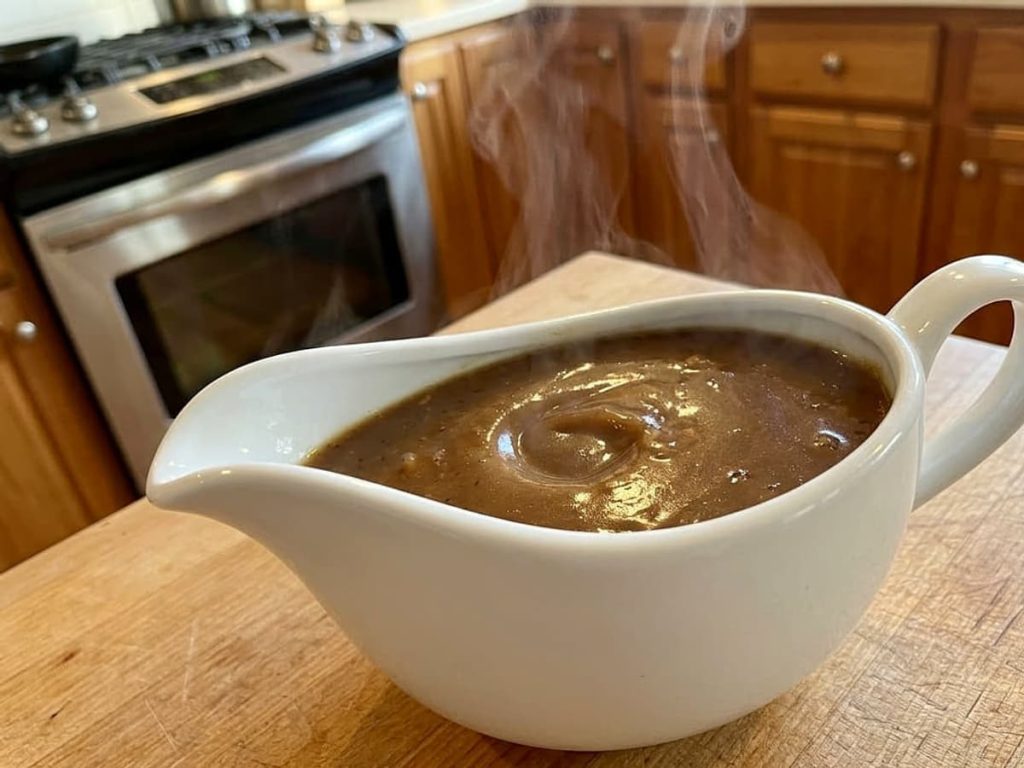
Smooth Gravy from Drippings
Course: BasicsCuisine: American4
servings5
minutes15
minutesIngredients
3 tbsp fat from drippings, or unsalted butter
3 tbsp all-purpose flour
2 cups stock or pan drippings liquid
Salt and black pepper to taste
1/2 cup fat from drippings, or unsalted butter
1/2 cup all-purpose flour
3 to 4 cups drippings, topped up with broth if short
1/2 tsp poultry seasoning
1 tbsp chopped fresh parsley or thyme (optional)
Salt and black pepper to taste
Directions
- Separate the fat. Pour all the drippings from the roasting pan into a fat separator or a tall measuring cup. Let it sit 2 to 3 minutes so the fat rises clearly to the top, then measure out 3 tbsp (small batch) or 1/2 cup (large batch) of fat. Reserve the liquid underneath.
- Start the roux. Pour the measured fat into a medium saucepan or the roasting pan set over medium heat. Sprinkle in the flour all at once and whisk immediately, pressing out any lumps against the pan. Keep whisking until the mixture is completely smooth with no dry streaks, about 1 minute.
- Cook the roux. Keep the heat at medium and whisk steadily for 3 to 4 minutes, per Spend With Pennies’ tested timing. The roux will turn from pale and pasty to a light golden color and smell faintly toasty. That smell means the raw flour taste is gone.
- Add the liquid slowly. Pour in the stock or drippings liquid a splash at a time, whisking constantly after each addition. The first few pours will look thick and almost gluey. Keep going. Once you’ve added about half the liquid, the mixture will loosen and you can pour the rest in a thin, steady stream, still whisking.
- Bring to a boil. Raise the heat to medium-high and bring the gravy to a full rolling boil, then hold it there for 1 to 2 minutes, whisking. This is the step that finishes the thickening. Gravy that looks thin at this stage will tighten up as it boils.
- Adjust the texture. If the gravy is thicker than you want, whisk in extra stock a tablespoon at a time, as Omaha Steaks recommends, until it pours the way you like. It’s much easier to thin a thick gravy than to fix one that’s already been over-seasoned trying to compensate for thinness.
- Season and finish. Add poultry seasoning if using (large batch), then taste and add salt and black pepper. Stir in fresh herbs if you’d like them. Serve immediately, or keep warm over very low heat, whisking occasionally, until the gravy is glossy and coats the back of a spoon.


