
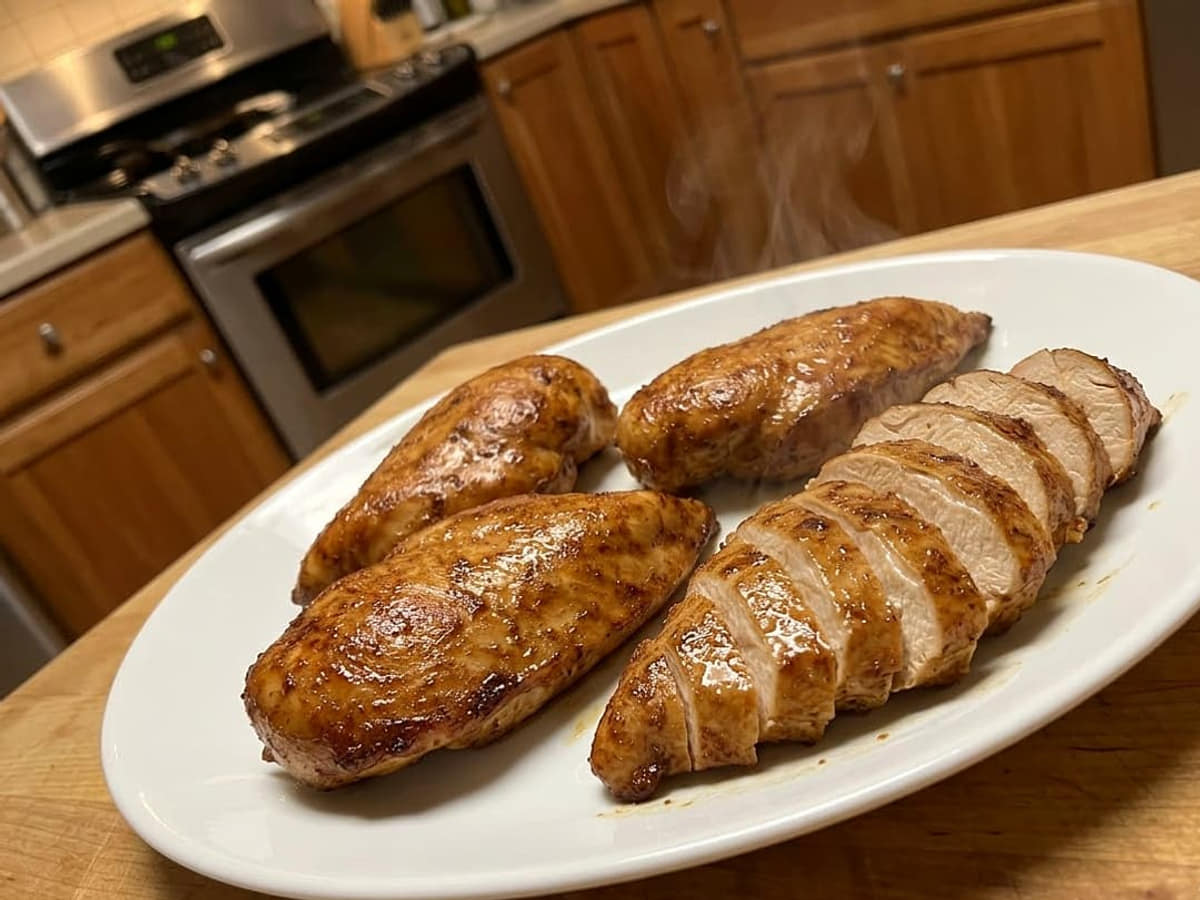
Juicy Baked Chicken Breast
My kids used to push dry chicken breast to the edge of their plates, and honestly I didn’t blame them. Getting a juicy baked chicken breast on a Tuesday night felt like a coin flip for years.
Then I stopped guessing and started paying attention to three things: oil on every surface, the thermometer in the thickest part, and a real rest before the knife comes out.
Those three cues changed everything. The oven temperature didn’t need to change.
The recipe didn’t need to get complicated.
I make this almost every week now, usually on Sunday, so I’ve got cooked chicken ready to pull into salads or toss into a casserole by Wednesday.
Prep: 10 minutes · Cook: 20 to 30 minutes · Total: about 45 minutes (with resting) · Serves: 4
How do you keep baked chicken breast juicy?
Pull it from the oven the moment an instant-read thermometer reads 165°F in the thickest part, the USDA minimum safe temperature for poultry. Then tent it loosely with foil and rest it for at least 5 minutes, 10 is better. That rest is where the juices redistribute instead of running onto your cutting board.
The Method, in Plain English
- Coating every surface with oil before seasoning creates a thin barrier that slows moisture loss in the dry oven heat, so the outside firms up before the inside dries out.
- Baking uncovered lets the surface dry slightly and take on color. Covering the pan traps steam, which softens the exterior and washes the seasoning off.
- Resting the chicken covered for 5 to 10 minutes after baking lets the muscle fibers relax and pull the juices back in. Cut straight away and those juices pour right out onto the board.
I used to skip the rest because dinner was ready and everyone was hungry. The first time I actually waited the full 10 minutes, I sliced into a breast that was genuinely moist all the way through.
I don’t skip it anymore.
Why I Keep Coming Back to This One
- Ready in under 45 minutes with pantry spices you already own
- Works as a standalone dinner or as meal-prep protein for the whole week
- No pounding, no brining, no complicated steps
- Four ingredients do the real work: chicken, oil, paprika, and a thermometer
Grab These Ingredients
- 2 lb boneless, skinless chicken breasts (about 4 breasts, 6 to 8 oz each)
- 1 to 2 tbsp olive oil or avocado oil
- 1 tsp smoked paprika or regular paprika
- 1 tsp garlic powder
- 1 tsp dried oregano
- 1/2 tsp salt
- Black pepper to taste
A Few Notes on the Ingredients
Smoked paprika gives the chicken a deeper, slightly earthy flavor that regular paprika doesn’t quite match. Either one works, but if you’ve got smoked paprika in the cabinet, reach for it.
It’s the one spice swap that actually makes a noticeable difference here.
For the oil, avocado oil handles oven heat a little more cleanly than olive oil, but both work fine at the temperatures this recipe uses. The key is using enough to coat every surface, not just a drizzle on top.
A tablespoon is the minimum for 2 lb of chicken.
Chicken breast size matters more than you’d think. Breasts over 2 inches thick at the center will need the full 30 minutes, while thinner ones can be done in 20.
Buy breasts that are roughly the same size so they finish at the same time. If one is noticeably thicker, it’ll still be raw in the middle when the others are done.
Let’s Make It
- Heat the oven. Set your oven to 425°F and let it fully preheat while you prep the chicken. A properly hot oven is what gives the surface a little color before the inside overcooks, so don’t rush this step.
- Dry the chicken. Pat each breast dry with paper towels on both sides until the surface feels dry to the touch. Moisture on the surface steams in the oven instead of browning, so this step takes 30 seconds and matters.
- Oil and season every side. Drizzle the oil over the breasts, then sprinkle the paprika, garlic powder, oregano, salt, and pepper over them. Flip each breast and repeat on the other side, pressing the seasoning in gently so it sticks. Every surface should look evenly coated, with no pale patches.
- Arrange in the baking dish. Place the breasts in a single layer in a baking dish or on a sheet pan, spaced so they aren’t touching. Touching breasts steam each other at the edges and slow down cooking unevenly.
- Bake uncovered. Slide the pan into the center rack and bake uncovered for 20 to 30 minutes. Thinner breasts (under 2 inches at the thickest point) will be done closer to 20 minutes. Thicker ones need the full 30. Start checking at 20 minutes.
- Check the temperature. Insert an instant-read thermometer into the thickest part of the largest breast, avoiding any thin tapered end. Pull the chicken when it reads 165°F, the USDA minimum safe internal temperature for poultry. The surface should look lightly golden and feel firm when pressed.
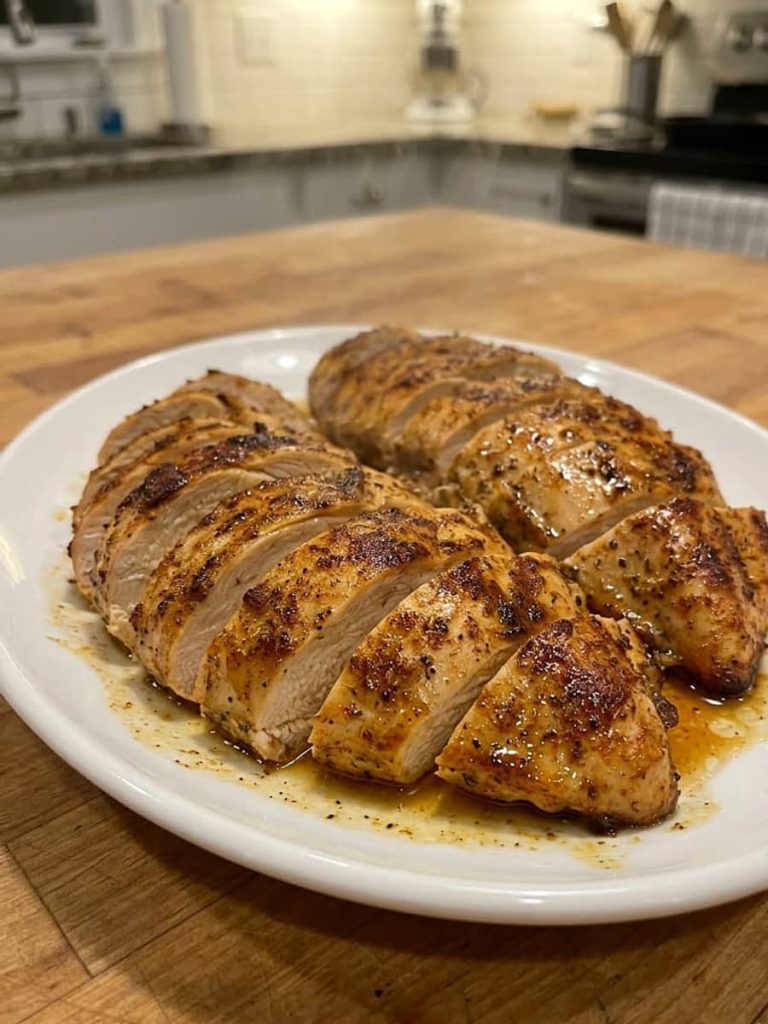
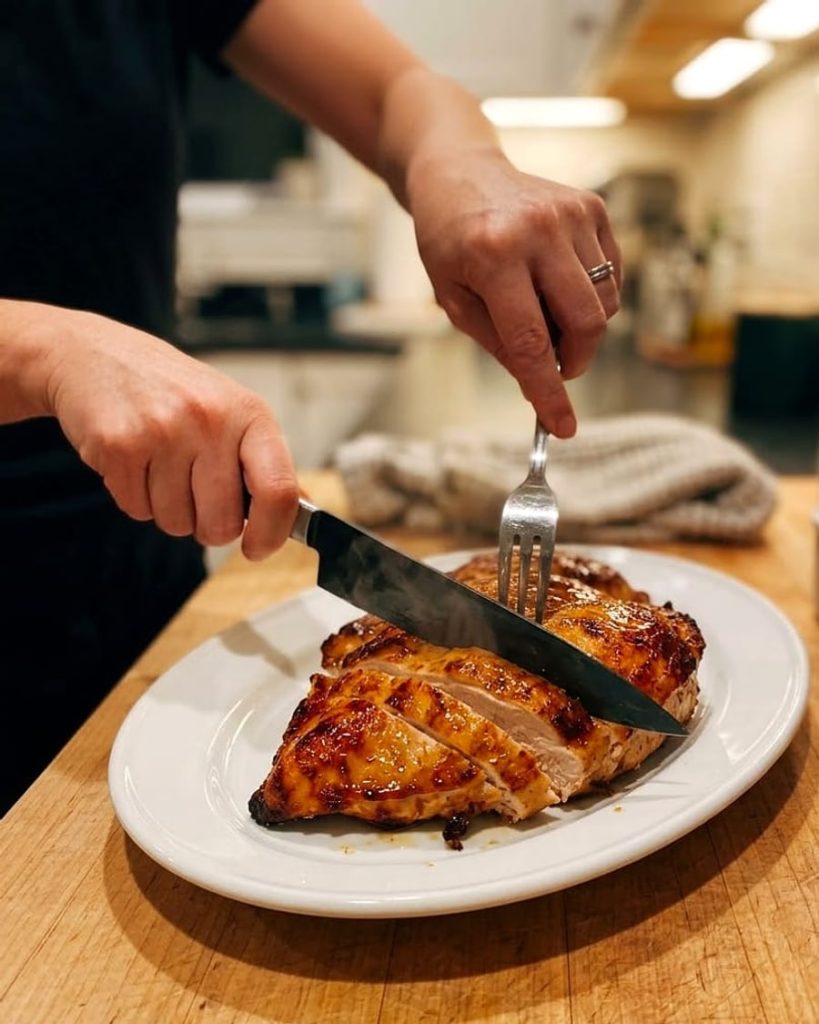
- Rest before slicing. Tent the pan loosely with foil and let the chicken rest for at least 5 minutes, 10 minutes if you can wait. Then slice against the grain, cutting across the muscle fibers rather than along them, so each bite is tender instead of stringy.
Tips
- Don’t pound the breasts flat. It’s common advice, but it’s not necessary here and it makes the edges dry out before the center is done.
- You can swap the garlic powder and oregano for 1 tsp of Italian seasoning if that’s what you have. The flavor is a little milder but still good.
- I still don’t measure the black pepper, and I’m not going to start. A generous amount goes on, and that’s that.
- If you want to meal prep, slice the cooked chicken and store it in portions. It pulls apart easily into salads, grain bowls, or casseroles all week.
- Don’t skip the against-the-grain slice. A perfectly cooked breast still eats stringy if you slice the wrong direction. Look for the lines running lengthwise and cut across them.
- Leftover chicken is safe at room temperature for up to 2 hours. After that, get it into the fridge.
Storage and Make-Ahead
Cooked chicken breast keeps well in an airtight container in the refrigerator for up to 1 week. Slice it before storing if you’re using it for meal prep, so it’s ready to grab without extra work.
It also freezes cleanly. Wrap individual breasts or slices tightly and freeze for up to 3 months.
Thaw overnight in the refrigerator, not on the counter. To reheat without drying it out, add a splash of water or broth to the container and cover it loosely before microwaving on medium power in 60-second intervals.
The steam keeps it from turning rubbery. A skillet over low heat with a lid does the same job.
Rounding Out the Meal
- Roasted or steamed broccoli pairs well because it’s ready in the same oven window and doesn’t need much attention while the chicken rests.
- Simple white rice or brown rice soaks up any juices from the resting pan and rounds out the plate without adding work.
- A green salad with a sharp vinaigrette cuts through the savory spice rub and makes the whole meal feel lighter.
- Mashed potatoes work especially well on a weeknight because you can start them while the chicken bakes and finish both at the same time.
Tools You’ll Need
- A baking dish or rimmed sheet pan, large enough to hold 4 breasts without touching, so they roast rather than steam each other.
- An instant-read thermometer, the single most important tool in this recipe. There’s no reliable visual cue for a boneless breast, so a thermometer is the only way to know it’s done.
- Paper towels for patting the chicken dry, a step that takes seconds and makes a real difference in the surface texture.
- Aluminum foil for tenting during the rest, so the heat stays in without trapping steam on the surface.
Your Questions, Answered
What temperature should baked chicken breast be? Pull it at 165°F internal temperature in the thickest part, which is the USDA minimum safe temperature for poultry. Use an instant-read thermometer rather than guessing by color or firmness, since a boneless breast gives no reliable visual signal when it’s done.
How long does it take to bake chicken breast at 425°F? Thinner breasts (under 2 inches thick) take about 20 minutes. Thicker ones need closer to 30 minutes. Thickness drives the timing far more than weight does, so two breasts of the same weight can finish at different times if one is thicker.
Why is my baked chicken breast always dry? The two most common reasons are overcooking past 165°F and cutting into the chicken right out of the oven. Both pour the juices out before they’ve had a chance to settle back into the meat. A thermometer and a 5 to 10 minute rest fix both problems.
Do I need to cover chicken breast when baking? No. Baking uncovered lets the surface dry slightly and take on a little color. Covering the pan traps steam, which softens the surface and prevents any browning.
Can I use frozen chicken breast? Thaw it completely in the refrigerator first. Baking from frozen leads to uneven cooking, with the outside done long before the center reaches a safe temperature.
More Family Favorites
- Classic Baked Ziti
- Classic Beef Chili
- Classic Beef Stew
- Classic Ground Beef Tacos
- Classic Meatloaf with Brown Sugar Glaze
- Classic Pot Roast
- Classic Spaghetti and Meatballs
- Creamy Baked Mac and Cheese
- Creamy Broccoli Cheddar Soup
- Creamy Italian Sausage Pasta
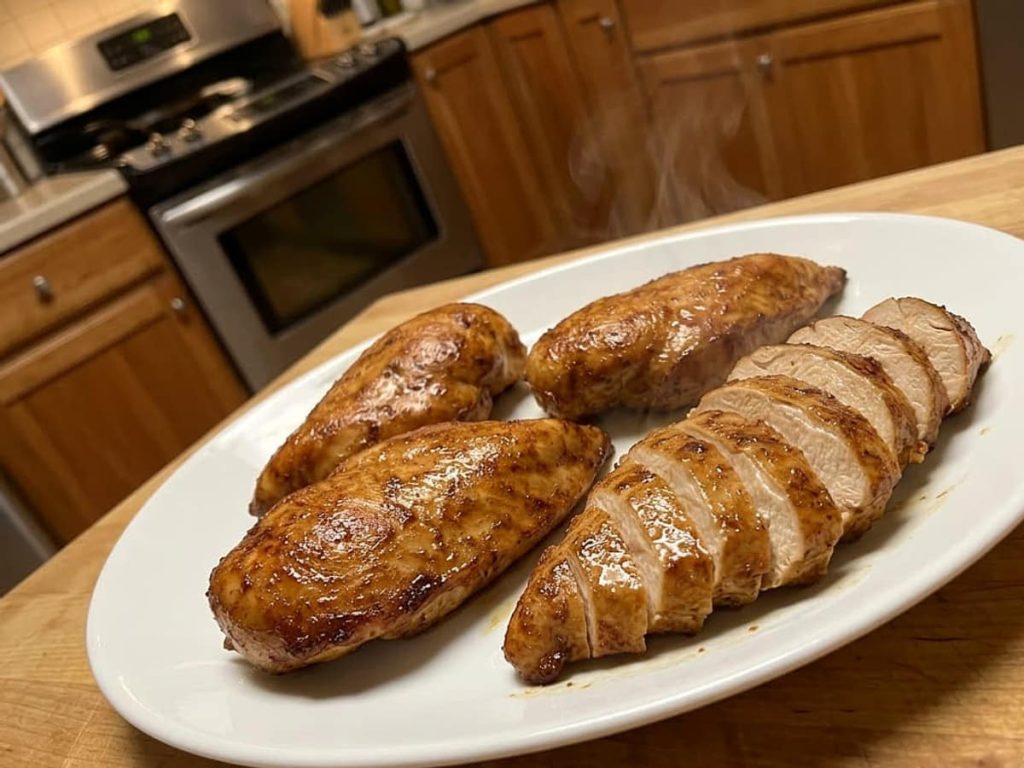
Juicy Baked Chicken Breast
Course: DinnerCuisine: American4
servings10
minutes30
minutesIngredients
2 lb boneless, skinless chicken breasts (about 4 breasts, 6 to 8 oz each)
1 to 2 tbsp olive oil or avocado oil
1 tsp smoked paprika or regular paprika
1 tsp garlic powder
1 tsp dried oregano
1/2 tsp salt
Black pepper to taste
Directions
- Heat the oven. Set your oven to 425°F and let it fully preheat while you prep the chicken. A properly hot oven is what gives the surface a little color before the inside overcooks, so don’t rush this step.
- Dry the chicken. Pat each breast dry with paper towels on both sides until the surface feels dry to the touch. Moisture on the surface steams in the oven instead of browning, so this step takes 30 seconds and matters.
- Oil and season every side. Drizzle the oil over the breasts, then sprinkle the paprika, garlic powder, oregano, salt, and pepper over them. Flip each breast and repeat on the other side, pressing the seasoning in gently so it sticks. Every surface should look evenly coated, with no pale patches.
- Arrange in the baking dish. Place the breasts in a single layer in a baking dish or on a sheet pan, spaced so they aren’t touching. Touching breasts steam each other at the edges and slow down cooking unevenly.
- Bake uncovered. Slide the pan into the center rack and bake uncovered for 20 to 30 minutes. Thinner breasts (under 2 inches at the thickest point) will be done closer to 20 minutes. Thicker ones need the full 30. Start checking at 20 minutes.
- Check the temperature. Insert an instant-read thermometer into the thickest part of the largest breast, avoiding any thin tapered end. Pull the chicken when it reads 165°F, the USDA minimum safe internal temperature for poultry. The surface should look lightly golden and feel firm when pressed.
- Rest before slicing. Tent the pan loosely with foil and let the chicken rest for at least 5 minutes, 10 minutes if you can wait. Then slice against the grain, cutting across the muscle fibers rather than along them, so each bite is tender instead of stringy.


