
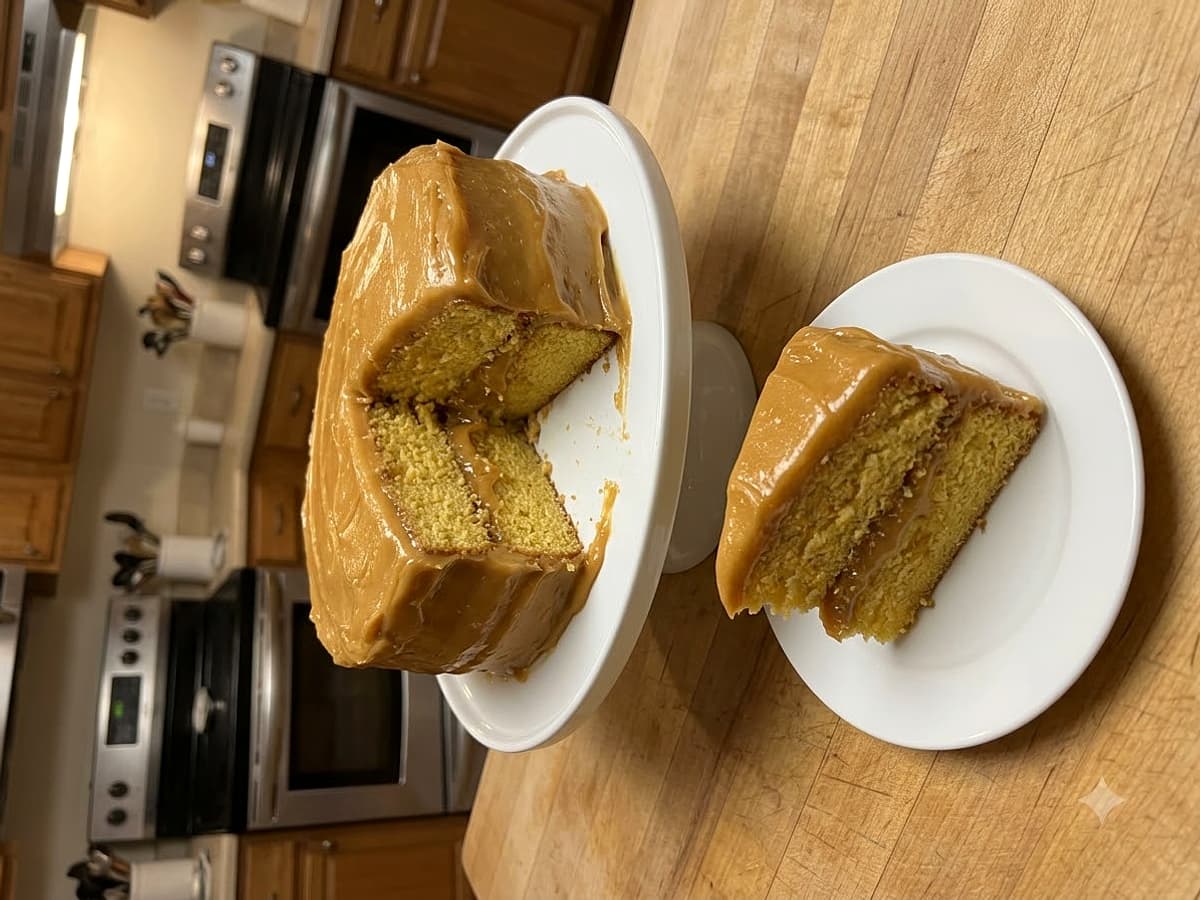
Classic Southern Caramel Cake
The sugar canister was completely empty when I went to make my coffee yesterday morning. I’d forgotten to write it on the grocery list.
I had to rip open a new five-pound bag, and seeing all that pristine white sugar made me think about melting it down.
There’s something extremely satisfying about taking plain sugar and turning it into a rich caramel cake. My grandmother used to stand over a hot stove stirring for what felt like hours to get the icing right.
I still get a little nervous when the sugar starts to smoke. Pulling my first batch off the heat way too early last year left me with pale syrup instead of the real deal.
You want to see a deep amber color before you add the dairy.
Prep: 30 minutes · Cook: 45 minutes · Total: about 3 hours (with cooling) · Serves: 10
Why does the frosting slide off a caramel cake? Frosting slides right off if the layers are even slightly warm.
You have to let them cool completely on a wire rack before icing. Using cold heavy cream in the frosting also keeps the butter from melting, which holds the caramel mixture together perfectly.
Grab These Ingredients
- 2 cups all-purpose flour (250 g)
- 1 tsp baking soda
- 1/2 tsp salt
- 1 cup sugar (200 g)
- 1/4 cup water (60 ml)
- 1/4 cup milk (60 ml)
- 1 tsp instant coffee (optional)
- 1 tbsp rum (optional)
- 3/4 cup sugar (for burning)
- 3 3/4 cups sugar
- 1 1/2 cups evaporated milk
- 2 sticks plus 1 tbsp butter
- 1 tbsp plus 1 1/2 tsp all-purpose flour
- 3/4 tsp salt (omit if using salted butter)
- 1 tbsp plus 1 1/2 tsp vanilla
- 280 g dulce de leche (for the middle layer)
- 340 g dulce de leche (for the frosting)
- 1 cup softened butter (230 g)
- 1 cup cold heavy cream (240 ml)
Picking the Right Ingredients
The evaporated milk is absolutely non-negotiable for the homemade cooked caramel. Regular milk contains far too much water and will never thicken properly when boiled with the sugar.
You need that concentrated, creamy richness to achieve the right chewy texture in the final layer.
If you decide to skip the homemade burnt sugar method, you must use a thick, high-quality dulce de leche. Canned caramel sauce meant for ice cream sundaes is far too thin and will run right off the edges of your cake.
Look for the thick cans in the baking aisle or the Hispanic foods section of your grocery store.
For the frosting, the butter needs to be softened to room temperature, but the heavy cream must stay in the refrigerator until the exact second you pour it. Whipping soft butter with cold cream sounds wrong, but that intense temperature clash is what builds a stable, fluffy frosting.
Step-by-Step Directions
- Mix the batter. Neither of the classic recipes I worked from gives the eggs or fat for the base layers. In my own kitchen, I cream a half cup of softened butter with the sugar, add two eggs, then alternate the dry ingredients with the milk and water.
- Bake the cake. The sources also leave out pan sizes and oven times. I bake this in two greased 8-inch round metal pans at 350°F. Pull them out when a wooden toothpick inserted in the exact center comes out totally clean, usually around 25 to 30 minutes.
- Burn the sugar. For Krystal’s cooked caramel, melt the smaller portion of sugar in a heavy skillet over medium heat. Let it cook untouched until it fully melts and turns a deep, dark mahogany brown color. You want it dark, but pull it off the heat before it starts to smell like charcoal.
- Boil the caramel base. In a separate large pot, combine the remaining sugar, evaporated milk, butter, flour, and salt. Bring this entire mixture to a rolling boil, whisking constantly until the butter is completely melted and the surface is bubbling rapidly.
- Combine the caramel. Carefully pour the separately cooked burnt sugar into the boiling milk mixture. Stand back slightly because it will sputter and steam wildly. Keep whisking vigorously until the liquid looks completely smooth and unified, and it doesn’t show any separate layers.
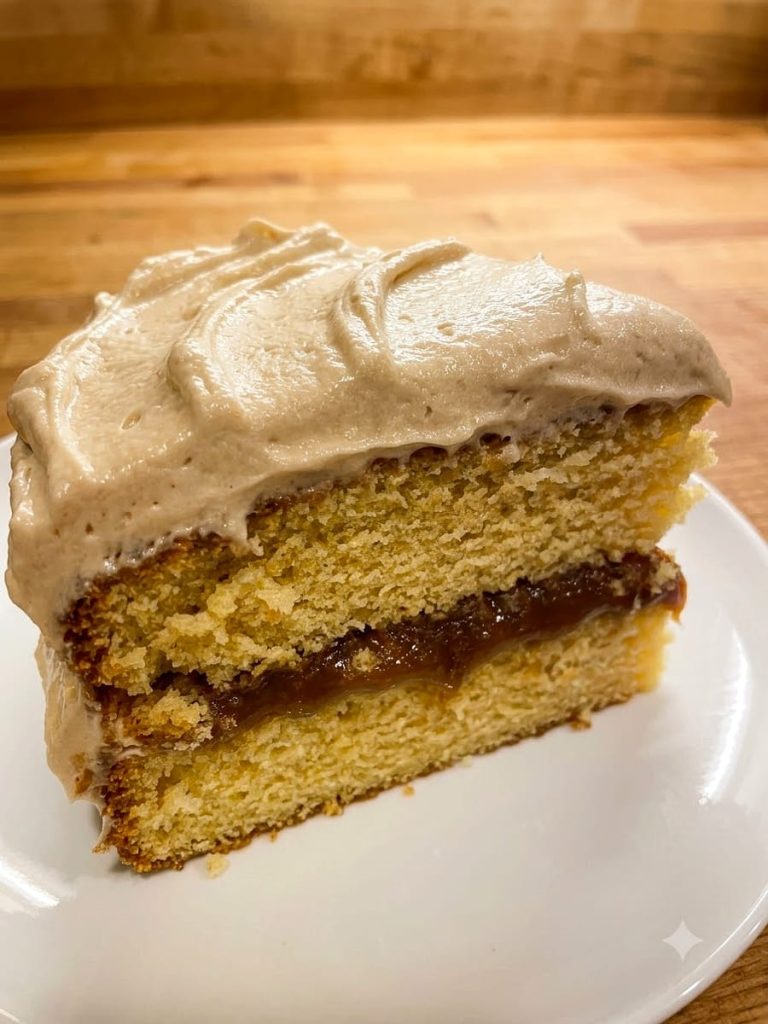
- Whip the frosting. Beat the softened butter in a stand mixer until very creamy. Pour in the cold heavy cream and whip on high speed until the mixture holds stiff, fluffy peaks. Fold in the larger portion of cooled caramel until completely blended into a pale amber color.
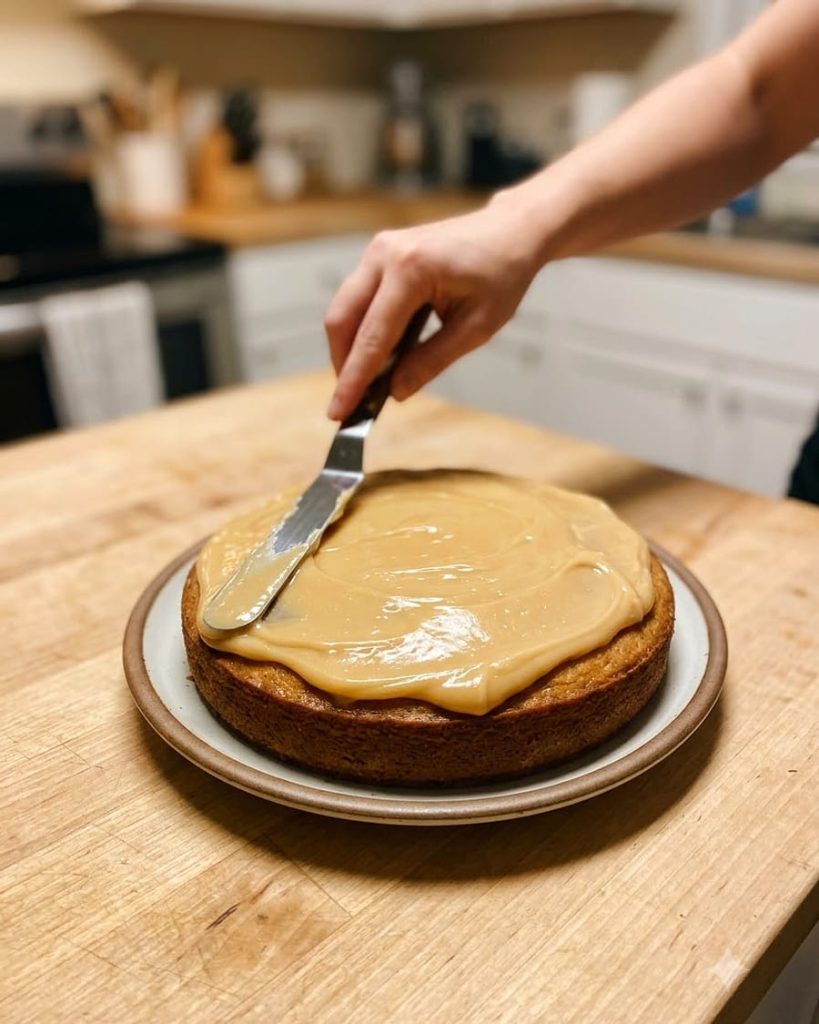
- Assemble the layers. Spread the smaller portion of plain caramel evenly between the completely cooled cake layers. Cover the top and sides generously with the whipped caramel frosting until everything is fully coated, swirling the edges to make it look inviting.
How to Store It
Keep the finished cake under a glass dome at room temperature for up to three days. The frosting sets up slightly on the outside but stays beautifully soft underneath.
Do not put it in the refrigerator unless your kitchen is extremely hot, because cold air dries out the crumb very quickly. You can bake the cake layers up to a month in advance.
Wrap them tightly in plastic wrap while they are still slightly warm, then place them in a heavy zip-top freezer bag. Let them thaw on the kitchen counter overnight before assembling.
The homemade cooked caramel can be made a week ahead of time. Store it in an airtight container in the fridge, then microwave it gently in ten-second bursts until it softens enough to spread easily.
More From My Kitchen
- Bubbling Blackberry Cobbler
- Bubbling Blueberry Cobbler
- Chewy Snickerdoodles
- Classic Apple Crisp
- Classic Apple Pie
- Classic Blueberry Cheesecake (Baked)
- Classic Carrot Cake with Cream Cheese Frosting
- Classic Chocolate Cake
- Classic French Apple Cake
- Classic Lemon Bars
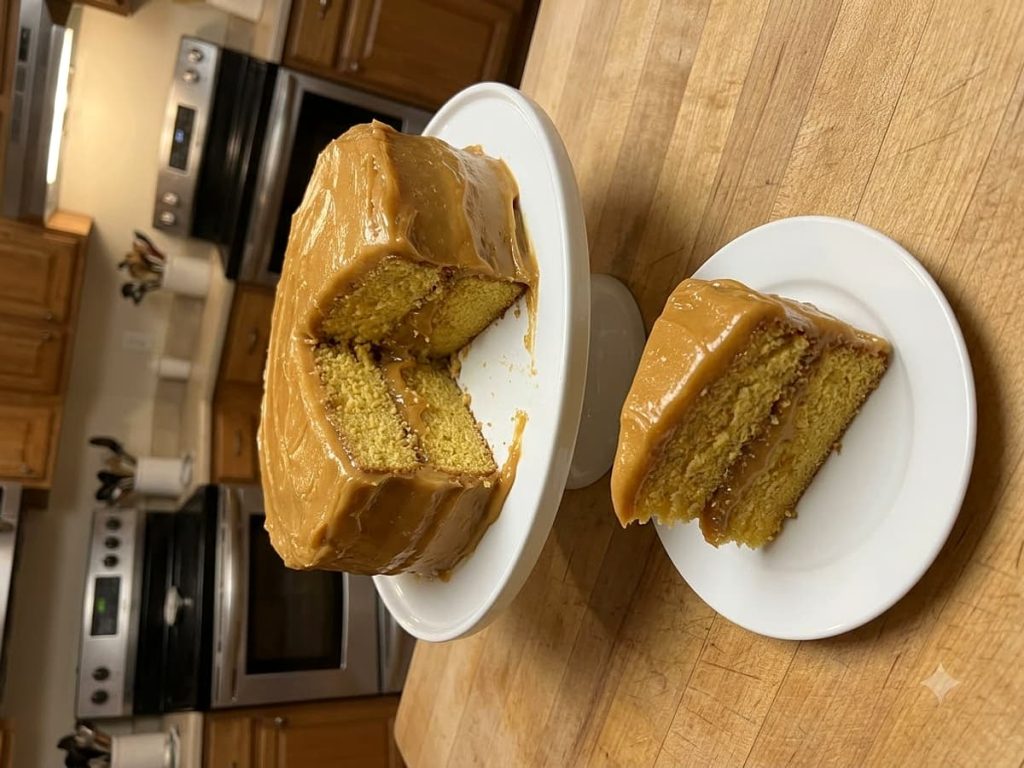
Classic Southern Caramel Cake
Course: DessertCuisine: American10
servings30
minutes45
minutesIngredients
2 cups all-purpose flour (250 g)
1 tsp baking soda
1/2 tsp salt
1 cup sugar (200 g)
1/4 cup water (60 ml)
1/4 cup milk (60 ml)
1 tsp instant coffee (optional)
1 tbsp rum (optional)
3/4 cup sugar (for burning)
3 3/4 cups sugar
1 1/2 cups evaporated milk
2 sticks plus 1 tbsp butter
1 tbsp plus 1 1/2 tsp all-purpose flour
3/4 tsp salt (omit if using salted butter)
1 tbsp plus 1 1/2 tsp vanilla
280 g dulce de leche (for the middle layer)
340 g dulce de leche (for the frosting)
1 cup softened butter (230 g)
1 cup cold heavy cream (240 ml)
Directions
- Mix the batter. Neither of the classic recipes I worked from gives the eggs or fat for the base layers. In my own kitchen, I cream a half cup of softened butter with the sugar, add two eggs, then alternate the dry ingredients with the milk and water.
- Bake the cake. The sources also leave out pan sizes and oven times. I bake this in two greased 8-inch round metal pans at 350°F. Pull them out when a wooden toothpick inserted in the exact center comes out totally clean, usually around 25 to 30 minutes.
- Burn the sugar. For Krystal’s cooked caramel, melt the smaller portion of sugar in a heavy skillet over medium heat. Let it cook untouched until it fully melts and turns a deep, dark mahogany brown color. You want it dark, but pull it off the heat before it starts to smell like charcoal.
- Boil the caramel base. In a separate large pot, combine the remaining sugar, evaporated milk, butter, flour, and salt. Bring this entire mixture to a rolling boil, whisking constantly until the butter is completely melted and the surface is bubbling rapidly.
- Combine the caramel. Carefully pour the separately cooked burnt sugar into the boiling milk mixture. Stand back slightly because it will sputter and steam wildly. Keep whisking vigorously until the liquid looks completely smooth and unified, and it doesn’t show any separate layers.
- Whip the frosting. Beat the softened butter in a stand mixer until very creamy. Pour in the cold heavy cream and whip on high speed until the mixture holds stiff, fluffy peaks. Fold in the larger portion of cooled caramel until completely blended into a pale amber color.
- Assemble the layers. Spread the smaller portion of plain caramel evenly between the completely cooled cake layers. Cover the top and sides generously with the whipped caramel frosting until everything is fully coated, swirling the edges to make it look inviting.


