
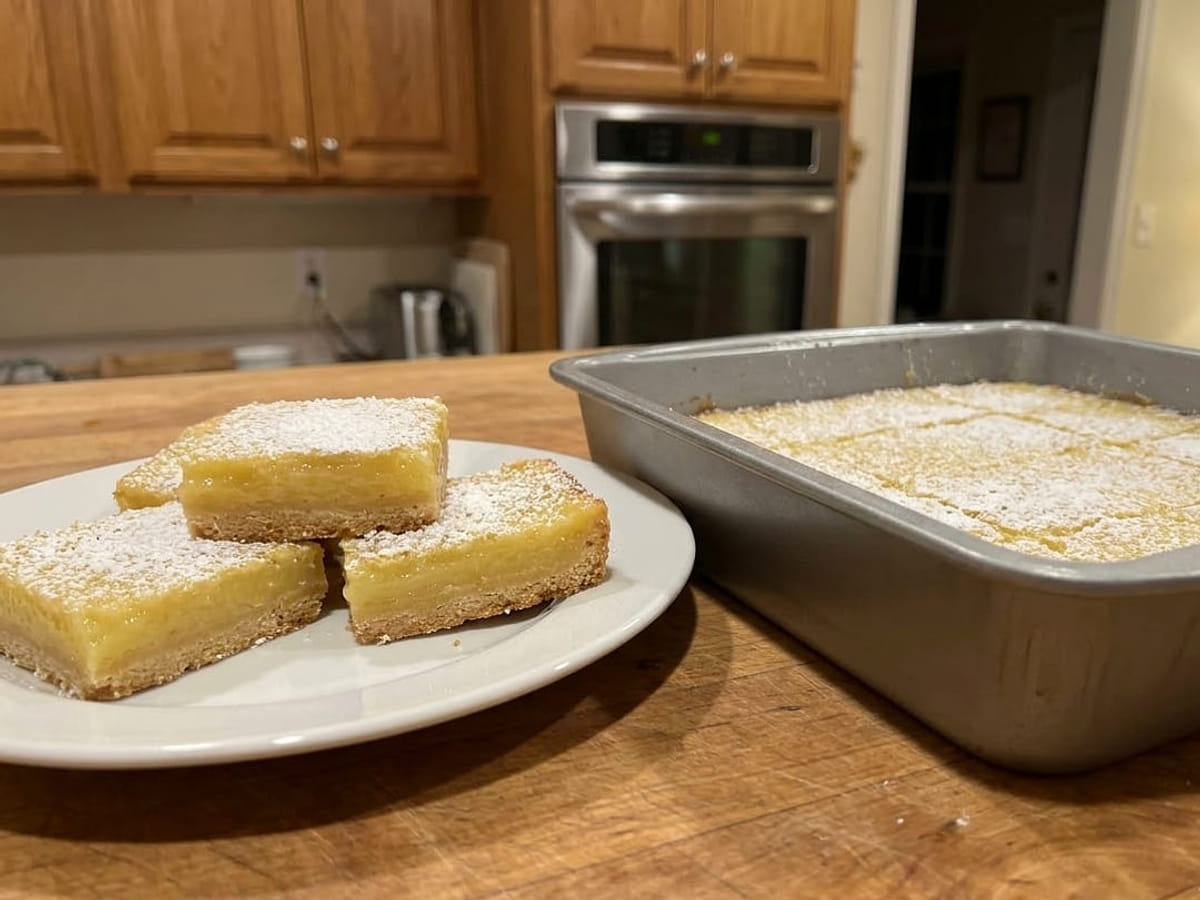
Classic Lemon Bars
Every time I make lemon bars, my youngest stations herself at the counter waiting for the powdered sugar cloud to settle. She’s been doing it since she was four.
It started because my grandmother used to make a pan of these every Easter, and somehow the ritual stuck, even in a house where Easter means plastic eggs hidden in the backyard and a lot of chaos.
The thing that trips people up is patience. Both layers need a visual cue, not a timer, to tell you they’re done.
And cutting too soon is the single most common mistake I see.
I’ve made these for bake sales, potlucks, and Tuesday afternoons. They always go fast.
This recipe uses a 9×9 inch pan and makes 16 bars.
Prep: 20 minutes · Cook: 35 to 38 minutes · Total: about 2 hours (includes full cooling) · Serves: 16
How do you know when lemon bars are done?
Lemon bars are done in two stages. The shortbread crust should look lightly golden at the edges before you add the filling, about 15 to 18 minutes at 350°F. The filling is set when the pan no longer jiggles in the center, roughly 17 to 20 more minutes. Let them cool completely before cutting.
What Makes It Work
- Baking the shortbread crust first, before any filling touches it, keeps the bottom layer firm and distinct. A raw crust poured over with wet filling turns soft and gummy.
- The small amount of flour in the lemon filling (3 tbsp) gives the custard enough structure to hold a clean edge when you cut it. Without it, you’d get a wobbly, sliceable mess.
- Baking powder in the filling creates a very slight lift, which gives the top layer that characteristic tender, just-set texture both Spend With Pennies and Glen And Friends use independently.
The first time I skipped watching for the jiggle test and just pulled the pan at the 17-minute mark, the center was still liquid under a deceptively firm-looking top. Now I always give the pan a gentle nudge before I turn the oven off.
Why This One’s Worth Making
- Two layers, one pan, no mixer required for the filling.
- Everything comes from a regular supermarket, no specialty ingredients.
- They keep well in the fridge for up to 4 days, so you can make them a day ahead.
- The bright, sharp lemon flavor cuts through the sweet shortbread in a way that doesn’t feel heavy.
The Ingredient List
- 10 tbsp unsalted butter, at room temperature
- 1¼ cups (160g) all-purpose flour
- ½ cup (60g) powdered sugar
- ¼ tsp salt
- 3 large eggs, at room temperature
- 1 cup (200g) granulated sugar
- ⅓ cup fresh lemon juice (from about 2 lemons)
- 1 tbsp lemon zest
- 3 tbsp all-purpose flour
- ½ tsp baking powder
- 2 tbsp powdered sugar, for dusting
Picking the Right Ingredients
Butter at room temperature matters here. Cold butter won’t cut into the flour properly, and melted butter makes the crust greasy and dense.
You want it soft enough to press with a finger but not shiny or slick.
Fresh lemon juice is worth the two minutes it takes to squeeze. Bottled juice has a flat, slightly bitter edge that comes through in a filling this simple.
The zest is where most of the bright lemon flavor actually lives, since it holds the essential oils. Don’t skip it even if you’re tempted to use only juice.
Powdered sugar in the crust (not granulated) gives the shortbread a finer, more tender crumb. Spend With Pennies uses powdered sugar for this reason.
If you only have granulated on hand, the crust will still bake through, but the texture will be slightly more sandy and less melt-in-your-mouth.
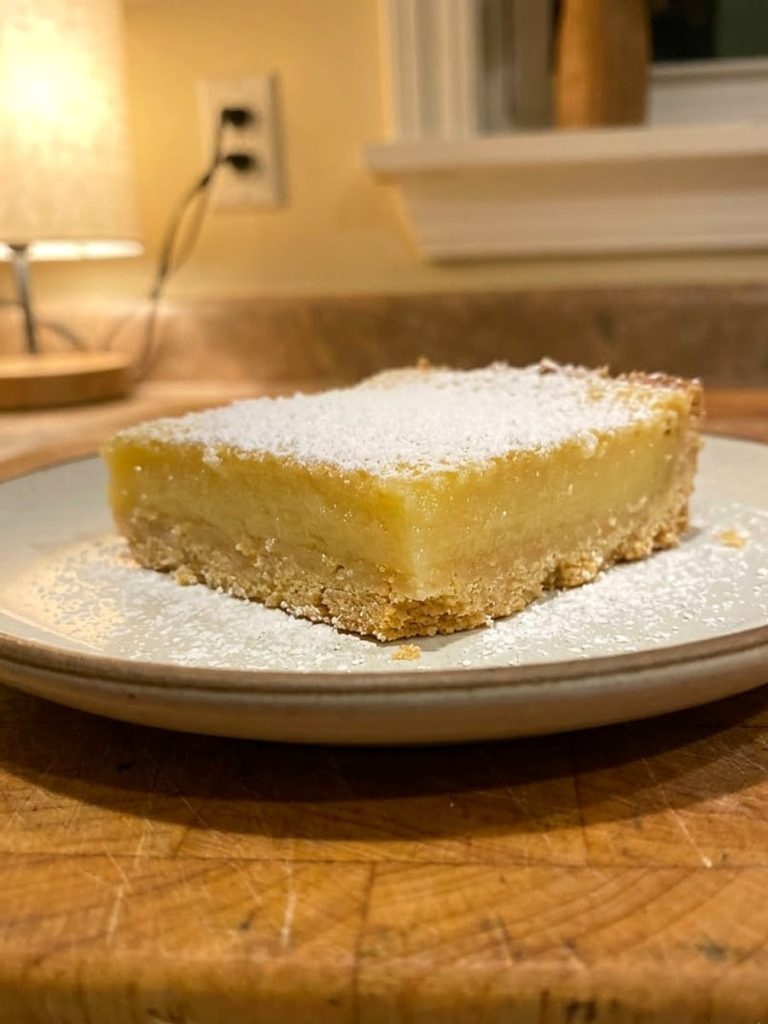
Step-by-Step Directions
- Heat the oven. Set your oven to 350°F and grease a 9×9 inch baking pan. This is the pan size Spend With Pennies specifies for this recipe, and it gives you 16 bars at a good thickness.
- Mix the crust dry ingredients. Whisk together the flour, powdered sugar, and salt in a medium bowl until evenly combined, about 30 seconds. No lumps of sugar should remain.
- Cut in the butter. Add the room-temperature butter in small pieces and work it in with your fingers or a pastry cutter until the mixture looks crumbly and holds together when you squeeze a pinch. That crumbly texture is your cue, not a time.
- Press and bake the crust. Tip the crumble into the prepared pan and press it into an even layer across the bottom. Bake for 15 to 18 minutes, until the edges are just turning light golden and the center looks dry and set, not raw or shiny.
- Make the filling. While the crust bakes, whisk together the eggs, granulated sugar, lemon juice, lemon zest, flour, and baking powder in a bowl until smooth and no flour streaks remain. The mixture will be pale yellow and pourable.
- Pour and bake the filling. Pull the crust from the oven and pour the filling over it immediately. Return the pan to the oven and bake for 17 to 20 more minutes, until the filling no longer jiggles in the center when you gently nudge the pan. The edges may look slightly puffed.
- Cool completely. Set the pan on a wire rack and leave it alone until it reaches room temperature, at least 1 hour. The filling continues to firm up as it cools. Cutting into a warm pan means the filling runs.
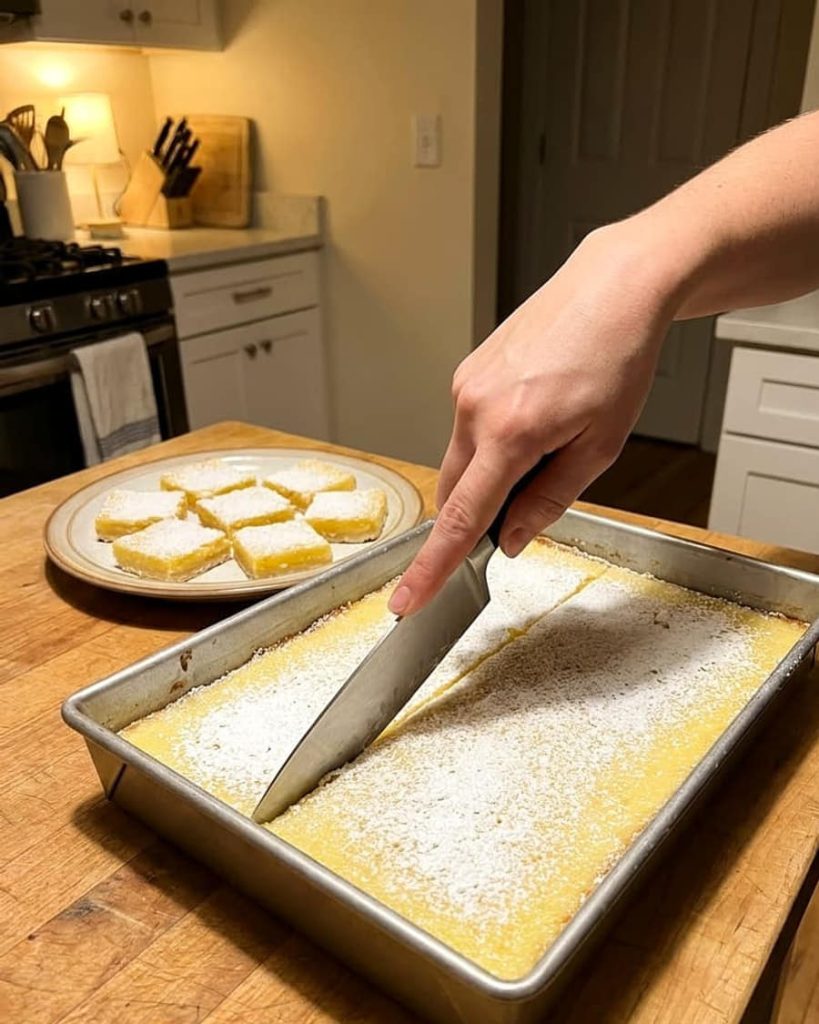
- Dust and cut. Sift the 2 tbsp of powdered sugar over the top once the bars are fully cooled. Cut into 16 squares with a sharp knife, wiping the blade between cuts for clean edges.
What I’ve Learned Making These Lemon Bars
- Use powdered sugar in the crust, not granulated. It gives the shortbread a finer, more tender texture that holds together under the filling without turning tough.
- Don’t skip the lemon zest. It carries the essential oils and punches up the lemon flavor in a way that extra juice alone can’t replicate.
- I still don’t measure the lemon zest exactly, and I’m not going to start. One good tablespoon from a medium lemon is plenty.
- Wipe your knife with a damp cloth between every cut. Dry cutting drags the filling and gives you ragged edges instead of clean bars.
- These bars freeze well. Wrap individual bars in plastic wrap, then store in a zip-top bag. Thaw in the fridge overnight and dust with fresh powdered sugar before serving, since the first dusting absorbs.
How to Store It
Store lemon bars in an airtight container in the refrigerator for up to 4 days, as noted by Spend With Pennies. Stack them with a sheet of parchment between layers so the powdered sugar doesn’t glue them together.
They freeze well. Wrap each bar individually in plastic wrap before placing them in a freezer bag.
Thaw overnight in the refrigerator. Don’t dust with powdered sugar until right before serving if you’re making them ahead.
The sugar absorbs into the filling over time and disappears, so a fresh dusting just before the plate hits the table keeps them looking their best.
What Goes With Lemon Bars
- Fresh berries alongside cut a little of the sweetness and add color to the plate without competing with the lemon.
- A cup of black tea or plain coffee pairs well because the slight bitterness balances the tart, sweet filling.
- Vanilla ice cream on the side turns these into a real dessert plate, and the cold cream against the chilled bar is a good contrast.
- A small pitcher of whipped cream works if you’re serving these at a gathering, since guests can add as much or as little as they want.
What I Use to Make This
- A 9×9 inch baking pan, metal conducts heat more evenly than glass for the shortbread crust.
- A pastry cutter or your fingertips for cutting the butter into the flour, whichever you’re more comfortable with.
- A wire rack, so air can circulate under the pan while the bars cool and the bottom doesn’t sweat.
- A fine-mesh sieve for dusting the powdered sugar evenly without clumps.
- A sharp chef’s knife with a long blade, so you can cut through the full bar in one clean press rather than sawing.
Questions I Get About Lemon Bars
Why did my lemon bars turn out runny? The filling wasn’t fully set when you cut them. Let the pan cool completely at room temperature before slicing, at least an hour. The filling firms up significantly as it cools, and cutting early is the most common reason bars fall apart.
Can I make lemon bars the day before? Yes, and they’re actually better the next day. Bake and cool them fully, then cover the pan tightly and refrigerate overnight. Dust with powdered sugar right before serving.
Why does my crust crumble when I cut the bars? The crust was likely too dry or not pressed firmly enough into the pan. Press it into a compact, even layer before baking, and make sure your butter was at room temperature, not cold, when you mixed it in.
Do lemon bars need to be refrigerated? Yes. Because of the egg-based filling, lemon bars should be stored in the refrigerator. They keep well for up to 4 days in an airtight container.
Can I use bottled lemon juice for lemon bars? You can, but fresh juice gives a noticeably cleaner, brighter flavor. Bottled juice often has a slightly flat or bitter edge that stands out in a filling this simple. Fresh is worth it here.
More From My Kitchen
- Bubbling Blackberry Cobbler
- Bubbling Blueberry Cobbler
- Chewy Snickerdoodles
- Classic Apple Crisp
- Classic Apple Pie
- Classic Blueberry Cheesecake (Baked)
- Classic Carrot Cake with Cream Cheese Frosting
- Classic Chocolate Cake
- Easy Homemade Brownie Mix in a Jar
- Fudgy Cocoa Brownies

Classic Lemon Bars
Course: DessertCuisine: American16
servings20
minutes38
minutesIngredients
10 tbsp unsalted butter, at room temperature
1¼ cups (160g) all-purpose flour
½ cup (60g) powdered sugar
¼ tsp salt
3 large eggs, at room temperature
1 cup (200g) granulated sugar
⅓ cup fresh lemon juice (from about 2 lemons)
1 tbsp lemon zest
3 tbsp all-purpose flour
½ tsp baking powder
2 tbsp powdered sugar, for dusting
Directions
- Heat the oven. Set your oven to 350°F and grease a 9×9 inch baking pan. This is the pan size Spend With Pennies specifies for this recipe, and it gives you 16 bars at a good thickness.
- Mix the crust dry ingredients. Whisk together the flour, powdered sugar, and salt in a medium bowl until evenly combined, about 30 seconds. No lumps of sugar should remain.
- Cut in the butter. Add the room-temperature butter in small pieces and work it in with your fingers or a pastry cutter until the mixture looks crumbly and holds together when you squeeze a pinch. That crumbly texture is your cue, not a time.
- Press and bake the crust. Tip the crumble into the prepared pan and press it into an even layer across the bottom. Bake for 15 to 18 minutes, until the edges are just turning light golden and the center looks dry and set, not raw or shiny.
- Make the filling. While the crust bakes, whisk together the eggs, granulated sugar, lemon juice, lemon zest, flour, and baking powder in a bowl until smooth and no flour streaks remain. The mixture will be pale yellow and pourable.
- Pour and bake the filling. Pull the crust from the oven and pour the filling over it immediately. Return the pan to the oven and bake for 17 to 20 more minutes, until the filling no longer jiggles in the center when you gently nudge the pan. The edges may look slightly puffed.
- Cool completely. Set the pan on a wire rack and leave it alone until it reaches room temperature, at least 1 hour. The filling continues to firm up as it cools. Cutting into a warm pan means the filling runs.
- Dust and cut. Sift the 2 tbsp of powdered sugar over the top once the bars are fully cooled. Cut into 16 squares with a sharp knife, wiping the blade between cuts for clean edges.


